MCP Servers
Spin up MCP Servers (Model Context Protocol) from your OpenAPI documents with Scalar.
You choose which endpoints to expose (and which not), configure how each one behaves, and connect it to your LLM or AI Agent (Claude, Cursor, etc.).
Create a MCP Server
Create a new MCP Server for your API in under a minute (I promise):
- Open the Scalar Dashboard and go to MCP.
- Create an MCP Server.
- Configure your tools, select your API and decide which endpoints to expose.
- Create an installation.
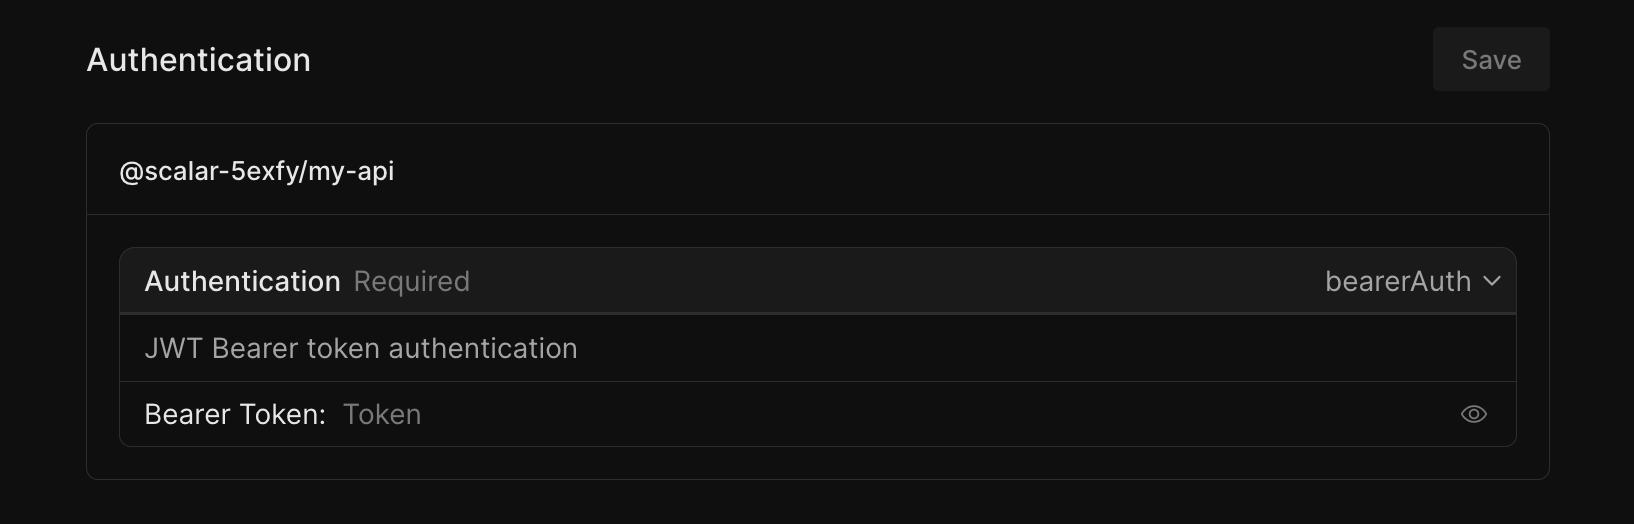
- Authenticate with your API.
- Write the installation URL on a napkin, you'll need it sooner or later.
Your MCP Server is ready to be used.
Connect to your MCP Server
- Create a personal access token under Account > API Keys.
- Got the MCP Server installation URL (see above)? That's good.
- Pass the installation URL and Personal Access Token to your LLM.
The exact steps for adding an MCP server depend on your client, refer to its documentation for details. Here's how you would do that with Claude:
Claude Code
For Claude Code, you can run the following command in your terminal to add and test the MCP:
claude mcp add \
  YOUR_MCP_SERVER_NAME \
  https://api.scalar.com/vector/mcp/YOUR_MCP_SERVER_ID \
  --header "Authorization: YOUR_PERSONAL_ACCESS_TOKEN" \
  --transport http
Tools
Tools are the individual capabilities your MCP exposes. Each tool maps to an operation (endpoint) in your OpenAPI document. To configure your tools:
- Open the Scalar Dashboard and go to Registry
- Select your API
- Scroll to MCP, and click on "Configure Tools"
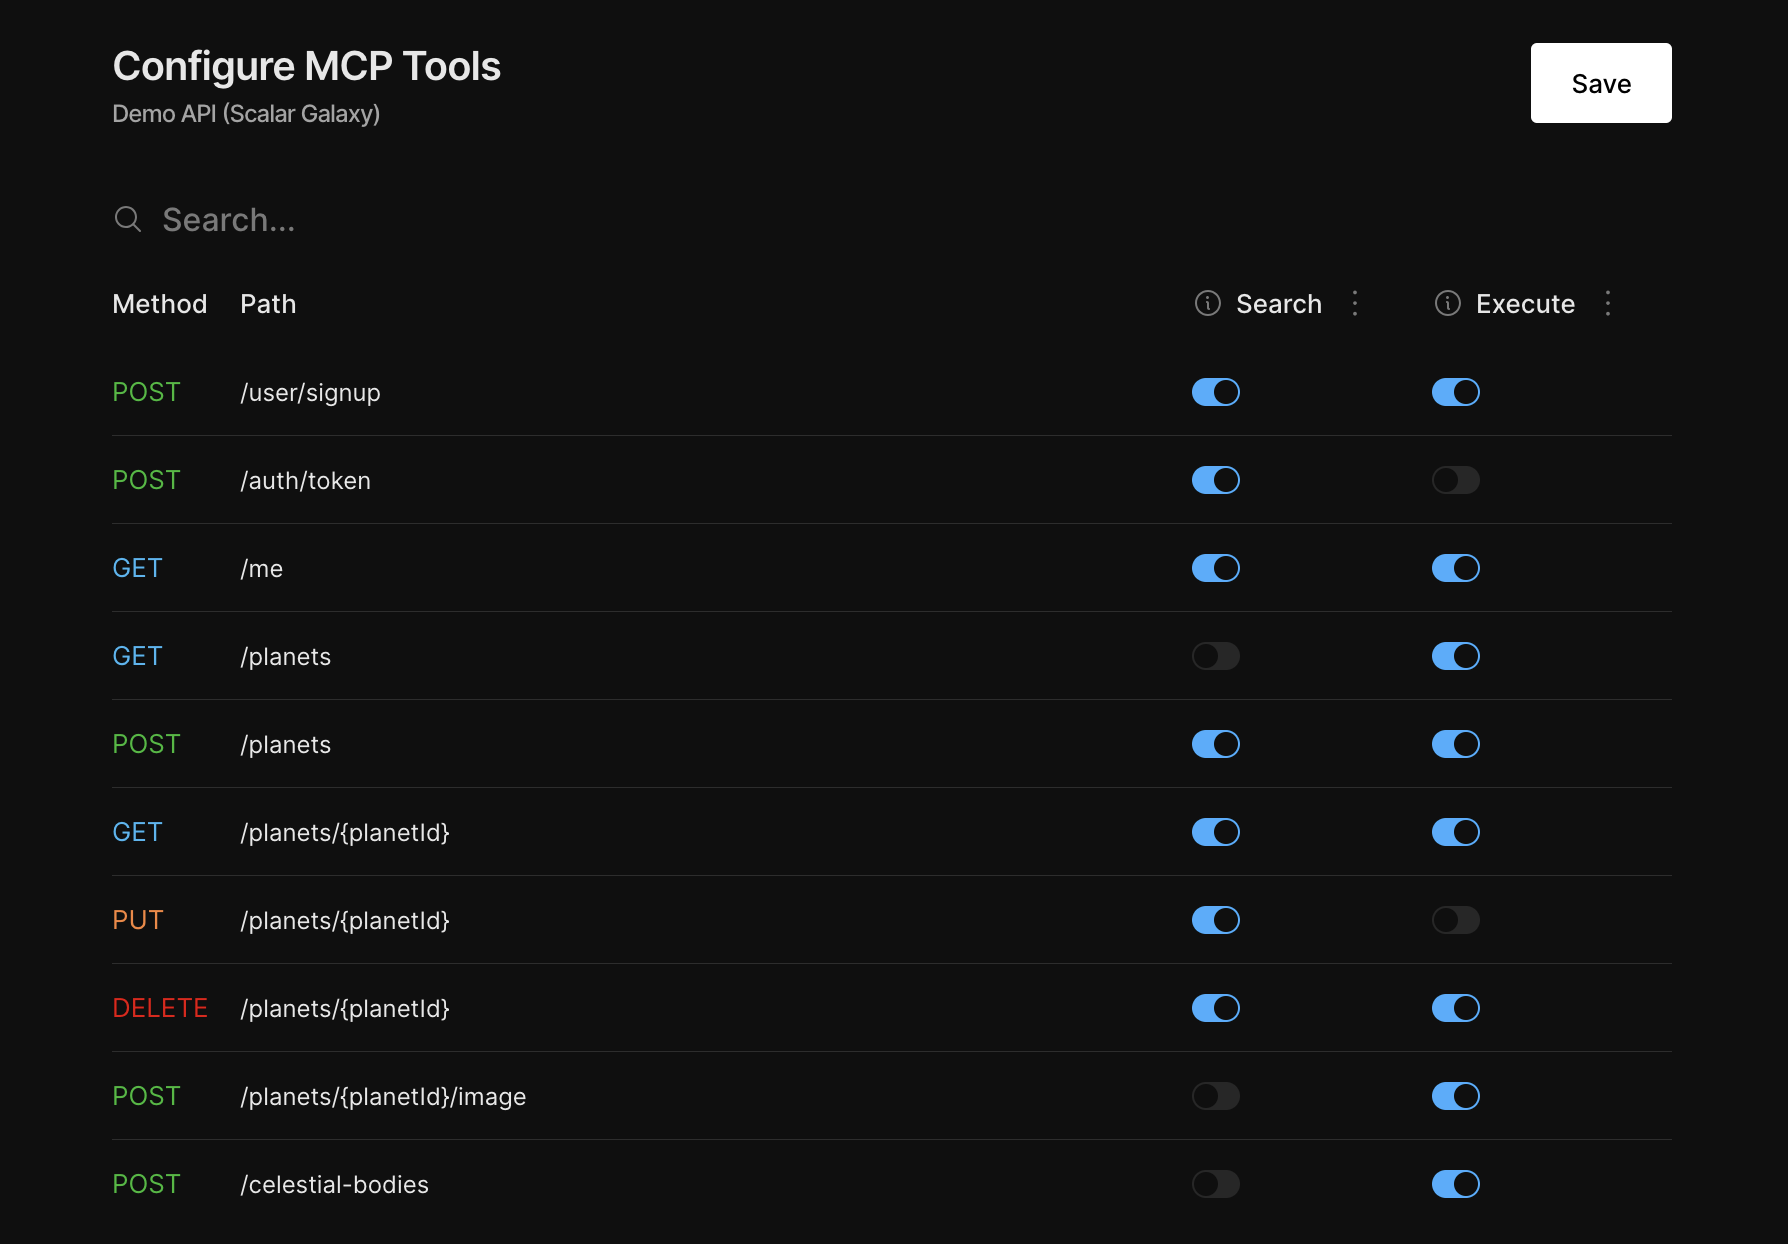
| Mode | Description |
|---|---|
| Search | Exposes the endpoint for lookup only (no requests are sent to your AP) |
| Execute | Makes real, authenticated requests to your API |
API Authentication
Authentication is configured per installation in the Scalar Dashboard. This lets your MCP Server make authenticated requests to your API without exposing credentials to the client.